Three Fun and Easy DIY Halloween Costumes for Your Dog
With Halloween just around the corner, now is the perfect time to start thinking about how you want to dress up.
But humans aren’t the only members of the family who should get to celebrate. Here are three fun, easy, and adorable Halloween costumes to get the furriest members of the family in the Halloween spirit. Kids and grown-ups can work together to follow the instructions and safely and effectively create these costumes out of materials already in the home.
1. Rocket Ship
1. Rocket Ship
If your dog is an adventure seeker always looking to explore new terrains, this is the perfect costume for them. 3…2…1…blast off!
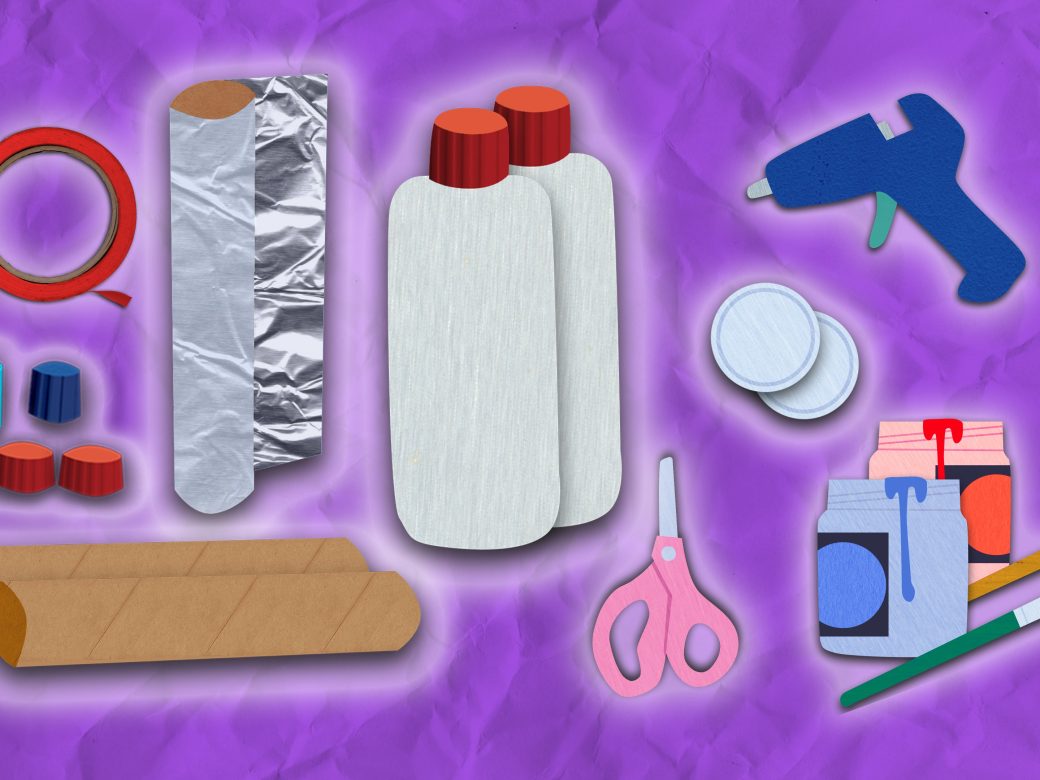
![]() You’ll need:
You’ll need:
- Safety Scissors – for grown-up use only!
- Glue Gun & Hot Glue Sticks – for grown-up use only!
- Aluminum Foil
- 2 Empty Two-Liter Soda Bottles (depending on the size of your dog, you might want to use 16 ounce or 1 liter bottles)
- Red Tape (Alt: masking tape, shoelace, or string)
- 2 Large Jar Lids (Ex: Pasta Sauce, Peanut Butter)
- 2-6 Small Caps (Ex: Soda or Water Bottle Caps)
- 2 Cylindrical Can Caps (Ex: Cooking Spray, Shaving Cream, Spray Paint)
- Acrylic Paint (Blue, Red, and Orange)
- 2 Cardboard Tubes from Paper Towel Rolls
- 1 Large Cardboard Box
- Thick Yarn/String or Thin Rope (Alt: Velcro Hook & Loop Strap Fasteners)
Steps:
- To create the jet packs for the rocket, wrap the two soda bottles in aluminum foil, with the shiny side facing out. Then wrap the red tape around the center of the bottles to hold them together.
- Paint two paper towel rolls red and/or orange to resemble fire. Let dry.
- Insert scissors into the end of the paper towel roll and cut a four-inch slit. Repeat the same cut all the way around the roll, leaving about 1⁄2 an inch in between each cut. Use your fingers to bend the cardboard pieces back to resemble flames. Do the same thing on the other side of the paper towel roll. Repeat step with the second roll.
- OPTIONAL: Make a ball of aluminum foil in your fist and use hot glue to attach it to one end of your flame.
- Use hot glue to attach one end of the paper towel roll to the open end of the bottle.
- Attach a small/medium sized can or bottle cap to the top of each “rocket” using hot glue. Then, attach one large lid to the front of each bottle.
- Add buttons and switches to the rocket using recycled and painted jar lids, bottle caps, and anything else you can find around the house. Let dry.
- Before you can attach the rocket to your pup, you need to make a cardboard base for stability. Measure the length and width of your dog to know what size to make.
- Using cardboard and scissors, cut a rectangle in the size needed, making sure to add an extra inch or two on either side for wiggle room.
- Paint the cardboard base grey (or any color you like). Let dry.
- Bend the cardboard to create a 1-inch flap on each side. Use scissors or a large hole-puncher to put three holes on each flap.
- To create the straps, measure the length from one of your dog’s shoulders to the other, going under their chest/belly. Cut a piece of thick yarn/rope to the length needed, and tie one end of the string to each of the three holes on one side of the cardboard base.
- Using hot glue and red tape, attach the rocket to the top of the cardboard base.
- Place the costume on top of your pup. Grab the string from one side, thread it underneath your dog, and tie it securely through the hole on the other side. Cut off any excess string.
- Give your doggy a little love pat for being such a good boy/girl!’
2. Spooky Spider
2. Spooky Spider
Turn your cuddly four-legged friend into a spooky eight-legged one!
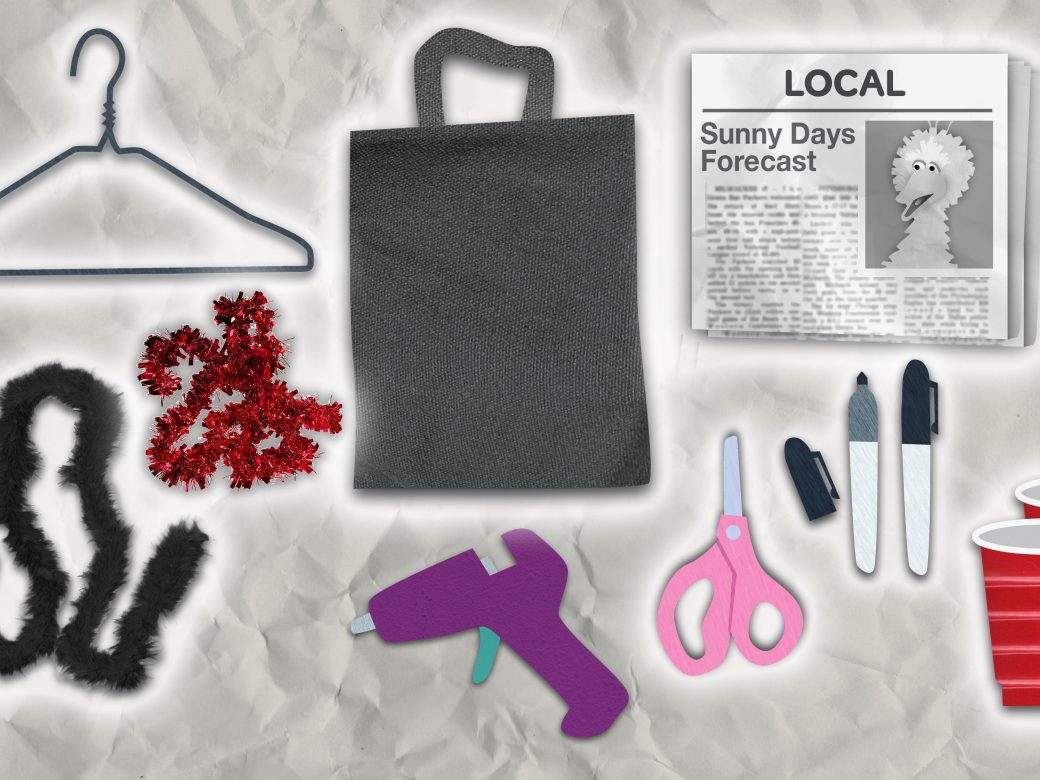
![]() You’ll need:
You’ll need:
- Scissors – for grown-up use only!
- Hot Glue & Hot Glue Guns – for grown-up use only!
- 1 Black Reusable Shopping Bag
- Recycled Stuffing (Ex: old newspapers, construction paper scraps or old plastic bags)
- 1-2 Rubber Bands (Alt: Elastic hair tie or string)
- 8 Wire Pant Hangers (Alt: floral or crafting wire)
- 2” Black Gaffers Tape or electrical tape
- 4 Black Feather Boas (Alt: black fabric, felt, yarn, or tissue paper)
- Red Holiday Garland
- 6-10 Red Plastic Cups – Small & Large (Alt: red bottle caps or lids)
- Black Paint or Permanent Marker
- Pliers
- Thick Yarn/String or Thin Rope (Alt: Velcro Hook & Loop Strap Fasteners)
Steps:
For the body:
- Crumple up your recycled stuffing, and stuff it into a black grocery bag
- Once stuffed, close the top of the bag, and tie it off with a rubber band or two. Fold over the top of the bag and use some hot glue to secure it to the rest of the body.
For the legs:
- Grab the wire hangers and remove the cardboard dowel. Twist the hangers apart and then break or cut them to create individual pieces of wire.
- Use pliers to bend the wires into the shape of a spider’s leg, leaving a straight part at the end to serve as the spider’s foot. Do this 8 times!
- Wrap some masking tape around the end of each leg to prevent your pup from getting poked with the wire.
- Cut the black feather boa to the length of each leg (add an extra inch or two for some wiggle room).
- Hot glue the boa onto each wire, leaving about an inch of bare metal at the top, which will be inserted into the spider’s body.
- Take the red holiday garland and wrap two pieces around each leg to create joints – like two knees! Use hot glue to secure them onto the legs.
- Attach the legs to the Spider’s body by pressing the bare part of the wire into the stuffed bag. Add a few drops of hot glue to secure them.
For the eyes:
- Use scissors to cut the red plastic cups, leaving only one inch of the plastic left at the bottom, and creating a shallow circular eye. Repeat with cups of all sizes, leaving some variation in the height of each. Can also be done with bottle caps or lids.
- Use black paint or permanent marker to add pupils to the bottom of each cup.
- Using hot glue, attach the eyes to the spider’s face.
- OPTIONAL: Once the eyes are all attached, cut a piece of the remaining feather boa and hot glue it around the edge of the spider’s face.
To secure:
- To create straps, measure the length from your dog’s shoulder to their other shoulder, going under their chest/belly. Use scissors to cut thick string/rope to the length needed. Tie one end of the string to one side of the stuffed bag. Use paper clips to help secure if needed.
- Place the costume on top of your pup. Grab the string from one side, thread it underneath your dog, and attach it to the other side. The string closest to the dog’s head should go across their chest. Cut off any excess string.
- Give your very good dog some love for being game on Halloween!
3. Taco Dog
3. Taco Dog
Food-loving humans and dogs alike will delight in this tasty-looking and adorable costume.
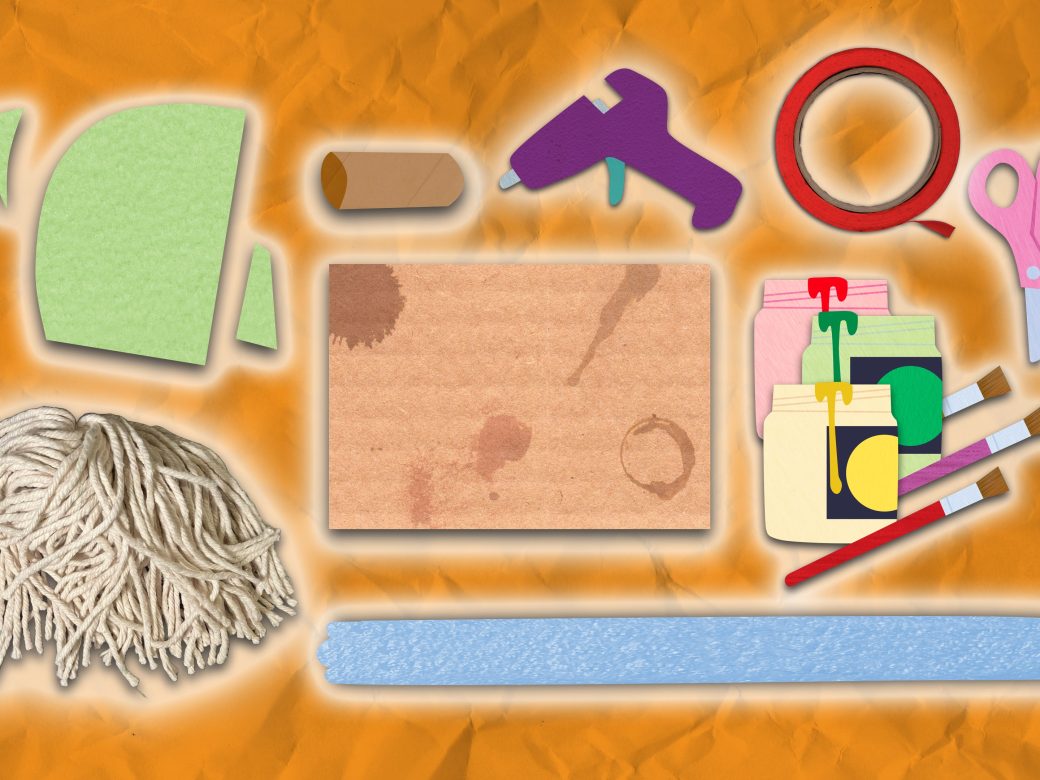
![]() You’ll need:
You’ll need:
- Heavy Duty Scissors to Cut Cardboard– for grown-up use only!
- Hot Glue & Glue Gun– for grown-up use only!
- 1 Large Cardboard Box
- Acrylic Paint (Yellow, gold, brown, red, and green)
- Paint Brushes
- 1 Old Pool Noodle
- Lettuce: Green Crafting Felt (Alt: an old t-shirt, construction paper, or any green fabric)
- Tomatoes: 8-10 Red pom-poms or red soda bottle caps
- Cheese: 1 Mop Head or thick yarn
- Velcro (Hook & Loop Fastener) Straps
- 1 Large bowl/bucket
- Orange Food Coloring
Steps:
For the shell:
- To create the shell, cut two rectangles of cardboard. Each rectangle should be about the size of your dog’s body. Use scissors to round off the corners on the top of the taco to create a half-circle shape.
- Use a mix of yellow, gold, and brown paint to color the taco shell. Start by painting the cardboard yellow, and then use some gold and brown paint to create speckles and texture. Let dry.
- Cut another piece of cardboard – this time for the center stabilizer of the taco. This piece of cardboard should be the width of your dog (approximately hip to hip), plus an extra six inches on either side. The length should be similar to the taco shell length.
- Fold down six inches on either side of the stabilizer to create an upside-down U-shape. Use hot glue to attach each shell to either side of the stabilizer piece.
For the toppings:
- LETTUCE: Use scissors to fringe scraps of green crafting felt, an old t-shirt, construction paper, or any green fabric for the lettuce. Glue the pieces around the inside edges of the taco shell and stabilizer.
- TOMATO: Glue red pom-poms or soda bottle caps inside the shell and stabilizer.
- JALAPENOS: Use scissors to cut ½ inch thick slices from an old pool noodle. Paint it green and attach it to the taco shell with glue.
- CHEESE: Cut 15-20 two-inch pieces of orange yarn (or white yarn dyed orange). Secure to taco shell.
To secure:
- Place the costume on top of your pup. Using string or rope, create a strap going from one side of the “shell” to the other, going under your dog’s chest/belly.
- Give your dog a treat for being such a good boy/girl!